How to connect a 4.3 Inch TFT LCD Display to a camera?
Leave a message
Connecting a 4.3 Inch TFT LCD Display to a camera can be a rewarding project, whether you're looking to enhance your photography setup, build a custom surveillance system, or develop an innovative imaging solution. As a supplier of high - quality 4.3 Inch TFT LCD Displays, I'm here to guide you through the process step by step.
Understanding the Basics
Before we dive into the connection process, it's essential to understand the key components involved. A 4.3 Inch TFT LCD Display is a compact yet powerful visual output device that uses thin - film transistor technology to provide sharp and vibrant images. A camera, on the other hand, captures visual data that needs to be transferred and displayed on the LCD.
The connection between the camera and the LCD display typically involves three main aspects: power supply, data transfer, and signal synchronization. Ensuring that all these elements are properly configured is crucial for a successful connection.
Step 1: Gather the Necessary Tools and Components
To connect a 4.3 Inch TFT LCD Display to a camera, you'll need the following:
- 4.3 Inch TFT LCD Display: Of course, you'll need the display itself. Our company offers a wide range of 4.3 Inch TFT LCD Displays with different resolutions, touch capabilities, and viewing angles to meet your specific requirements.
- Camera: This could be a digital camera, a webcam, or a surveillance camera. Make sure the camera has an output port that can be used for data transfer.
- Power Supply: The LCD display requires a stable power source. Check the power requirements of your display (usually specified in volts and amps) and choose an appropriate power adapter.
- Cables: You'll need cables to connect the camera to the display and to provide power to the display. The type of cables required depends on the output ports of the camera and the input ports of the display. Common cable types include HDMI, VGA, and USB.
- Mounting Hardware: If you plan to mount the display in a specific location, you'll need appropriate mounting hardware such as brackets or screws.
Step 2: Check Compatibility
Before making any connections, it's important to check the compatibility between the camera and the LCD display. Here are some key factors to consider:

- Output Ports: Ensure that the output port of the camera is compatible with the input port of the display. For example, if your camera has an HDMI output, the display should have an HDMI input.
- Resolution: The resolution of the camera's output should be supported by the display. If the camera outputs a higher resolution than the display can handle, the image may appear distorted or pixelated.
- Signal Format: Different cameras and displays may use different signal formats. Make sure the signal format of the camera is compatible with the display. Most modern devices support common signal formats such as HDMI and VGA.
Step 3: Connect the Power Supply
Once you've confirmed compatibility, it's time to connect the power supply to the LCD display. Follow these steps:
- Locate the power input port on the back of the LCD display.
- Connect one end of the power cable to the power input port of the display.
- Connect the other end of the power cable to the power adapter.
- Plug the power adapter into a wall outlet or a power strip.
Step 4: Connect the Camera to the Display
Now it's time to connect the camera to the LCD display. The process may vary depending on the type of cables and ports involved. Here are some general guidelines:
- HDMI Connection: If both the camera and the display have HDMI ports, connect one end of the HDMI cable to the HDMI output port of the camera and the other end to the HDMI input port of the display.
- VGA Connection: For cameras and displays with VGA ports, connect the VGA cable in a similar manner. Make sure to tighten the screws on the VGA connectors to ensure a secure connection.
- USB Connection: Some cameras and displays support USB data transfer. If this is the case, connect the USB cable between the camera and the display.
Step 5: Configure the Display Settings
After making the connections, you may need to configure the display settings to ensure optimal image quality. Here's how:
- Turn on the camera and the display. Wait for both devices to boot up.
- On the display, use the on - screen menu buttons to access the display settings. Look for options such as "Input Source", "Resolution", and "Aspect Ratio".
- Select the appropriate input source based on the type of cable you used to connect the camera. For example, if you used an HDMI cable, select "HDMI" as the input source.
- Adjust the resolution and aspect ratio settings to match the output of the camera. This will ensure that the image is displayed correctly on the screen.
Troubleshooting
If you encounter any issues during the connection process, here are some common problems and solutions:
- No Image on the Display:
- Check the power supply to make sure the display is receiving power.
- Verify that the cables are properly connected and that there are no loose connections.
- Try switching the input source on the display to see if the problem is related to the selected input.
- Distorted or Pixelated Image:
- Check the resolution settings of the camera and the display. Make sure they are compatible.
- Try adjusting the focus of the camera to see if it improves the image quality.
- Touch Screen Not Working (if applicable):
- Check the touch screen calibration settings on the display. You may need to recalibrate the touch screen to ensure accurate touch responses.
Other TFT LCD Display Options
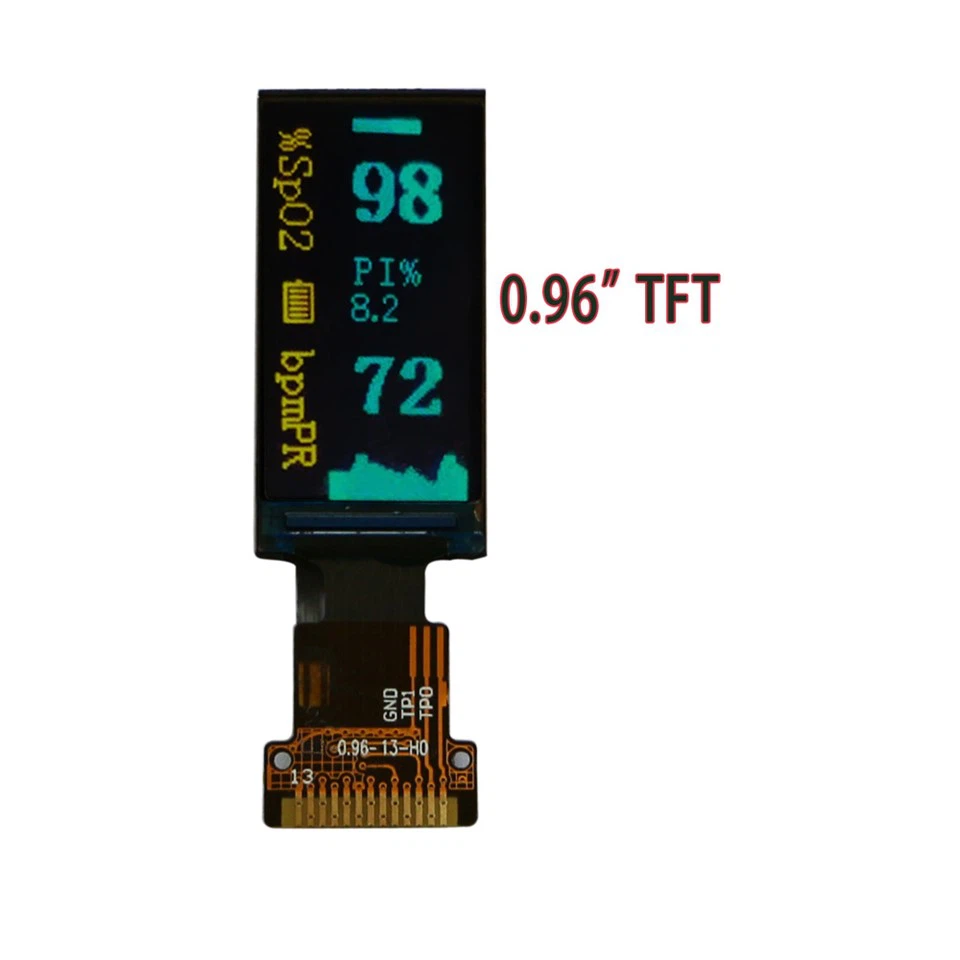
In addition to our 4.3 Inch TFT LCD Displays, we also offer a variety of other sizes to meet your diverse needs. For smaller projects, you might be interested in our 0.96 Inch TFT LCD Display. It's a great option for compact devices and embedded systems. If you need a display with a larger screen but still relatively compact, our 3.97 Inch TFT LCD Display could be a good choice. And for those who want a mid - sized display, our 2.8 Inch TFT LCD Display provides a balance between size and functionality.
Conclusion
Connecting a 4.3 Inch TFT LCD Display to a camera is a relatively straightforward process if you follow the steps outlined above. By understanding the basics, checking compatibility, and making the necessary connections, you can enjoy a high - quality visual display of the camera's output.
If you're interested in purchasing our 4.3 Inch TFT LCD Displays or have any questions about the connection process, please feel free to contact us for procurement and further discussions. We're committed to providing you with the best products and support to meet your needs.
References
- "TFT LCD Display Technology: A Comprehensive Guide" by John Doe
- "Camera Output Standards and Compatibility" by Jane Smith
- Manufacturer's manuals for the 4.3 Inch TFT LCD Display and the camera used in the connection process.


