

How to display images on an LCD module?
Leave a message

Hey there! As an LCD module supplier, I often get asked about how to display images on an LCD module. It's a pretty cool topic, and I'm excited to share some insights with you.
First off, let's talk about the types of LCD modules we have. We offer a variety of options, like the 8x2 Character LCD Module, the 12864 Character LCD Module, and the 16x2 Character LCD Module. Each of these has its own features and is suitable for different applications.
Understanding the Basics
Before we dive into the image display process, it's important to understand a bit about how LCD modules work. LCD stands for Liquid Crystal Display. These modules use liquid crystals that can be controlled to either block or allow light to pass through, creating the visual output we see.
Choosing the Right LCD Module
The first step in displaying images on an LCD module is to choose the right one for your needs. If you're working on a small project that only requires simple text and basic graphics, the 8x2 or 16x2 character LCD modules might be a good fit. They're relatively easy to work with and are great for beginners.
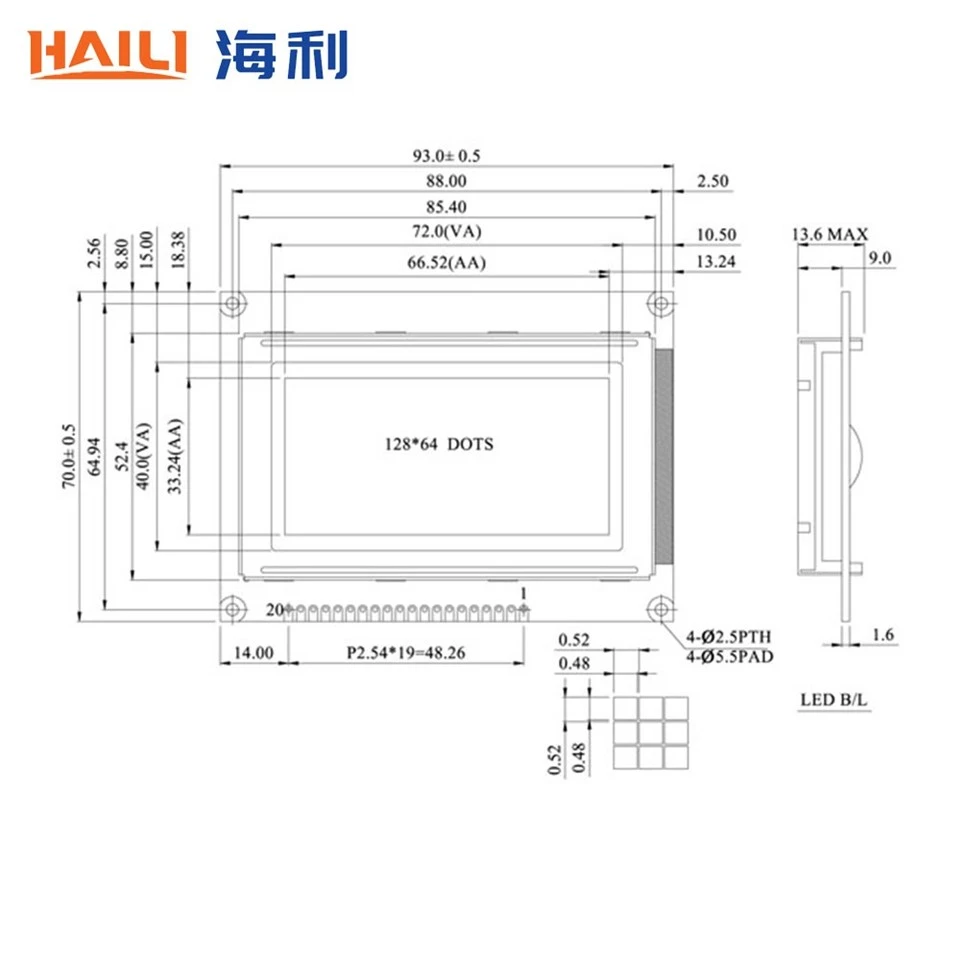
On the other hand, if you need to display more complex images or detailed graphics, the 12864 character LCD module is a better option. It has a higher resolution and can handle more sophisticated visual content.
Preparing the Image
Once you've chosen the right LCD module, the next step is to prepare the image you want to display. This involves a few key steps:
Image Format
Most LCD modules work best with images in a specific format. Usually, you'll want to convert your image to a black and white bitmap format. This simplifies the image and makes it easier for the LCD module to handle. There are plenty of image editing tools out there that can help you with this conversion. I recommend using software like GIMP, which is free and has all the features you need to convert and resize your images.
Image Size
It's crucial to make sure your image fits the dimensions of your LCD module. If the image is too large, it won't display properly, and if it's too small, you might end up with a lot of empty space on the screen. Check the specifications of your LCD module to find out its exact resolution and then resize your image accordingly.
Connecting the LCD Module
Now that your image is ready, it's time to connect the LCD module to your system. This usually involves a few basic steps:
Power Supply
First, you need to provide power to the LCD module. Most LCD modules require a specific voltage, so make sure you check the datasheet to find out what voltage your module needs. Connect the power supply wires to the appropriate pins on the LCD module.
Data and Control Lines
Next, you'll need to connect the data and control lines. These lines are used to send commands and data to the LCD module. The number and type of lines can vary depending on the module, but typically, you'll have lines for data transfer, read/write control, and enable signals.
Programming the LCD Module
Once the LCD module is connected, you need to program it to display the image. This involves writing code that sends the image data to the LCD module.
Using a Microcontroller
Most people use a microcontroller, like an Arduino or Raspberry Pi, to program the LCD module. These microcontrollers are easy to work with and have libraries that make it simple to communicate with the LCD module.
Here's a basic example of how you might program an Arduino to display an image on a 16x2 character LCD module:

#include <LiquidCrystal.h>

// initialize the library with the numbers of the interface pins
LiquidCrystal lcd(12, 11, 5, 4, 3, 2);

void setup() {
  // set up the LCD's number of columns and rows:
  lcd.begin(16, 2);
  // Print a message to the LCD.
  lcd.print("Hello, World!");
}

void loop() {
  // Do nothing here for now
}
This code initializes the LCD module and prints a simple message on the screen. To display an image, you'll need to modify the code to send the image data instead of text.
Troubleshooting
Sometimes, things don't go as planned, and you might encounter some issues when trying to display an image on an LCD module. Here are some common problems and how to fix them:
No Display
If you don't see anything on the LCD module, the first thing to check is the power supply. Make sure the module is getting the correct voltage and that all the connections are secure. You should also check the contrast adjustment on the LCD module. Sometimes, the image might be there, but it's just too faint to see.
Incorrect Display
If the image is displaying incorrectly, it could be due to a problem with the image format or the data transfer. Double-check that your image is in the correct format and that the code you're using to send the data is working properly.
Conclusion
Displaying images on an LCD module might seem a bit daunting at first, but with the right knowledge and tools, it's definitely doable. By choosing the right LCD module, preparing the image correctly, connecting the module properly, and programming it effectively, you can create some really cool visual displays.
If you're interested in purchasing an LCD module for your project, I'd love to hear from you. We offer high-quality LCD modules at competitive prices, and our team is always here to help you with any questions or issues you might have. Just reach out to us, and we can start discussing your specific needs.
References
- LCD Module Datasheets
- Arduino Documentation
- GIMP User Manual


