How to repair a damaged 4.3 Inch TFT LCD Display?
Leave a message
How to repair a damaged 4.3 Inch TFT LCD Display?
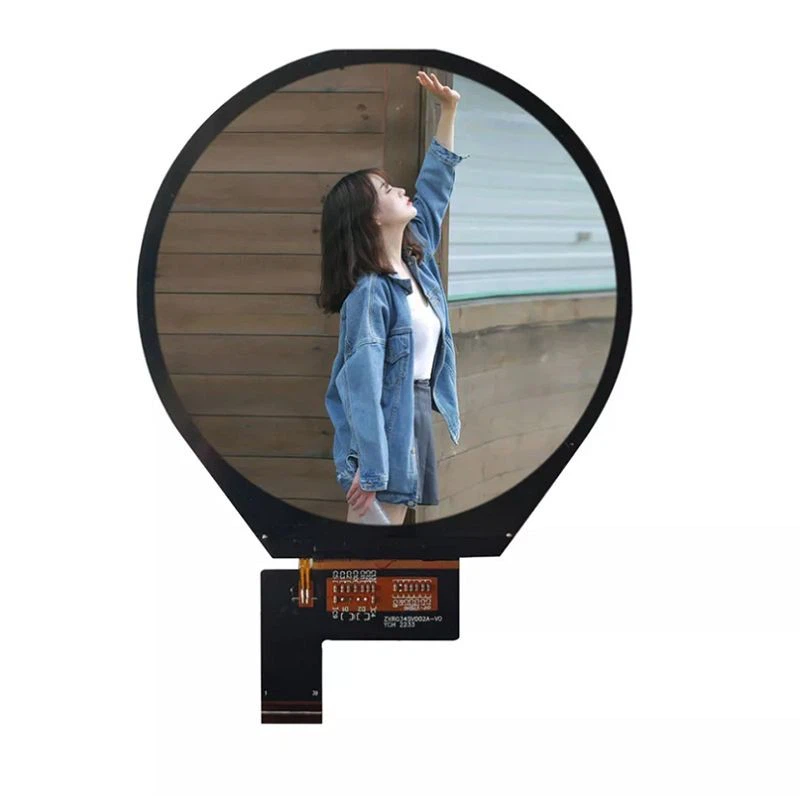
As a reputable supplier of 4.3 Inch TFT LCD Displays, I've encountered numerous customers who've faced the challenge of a damaged display. It's a common issue, but with the right knowledge and tools, many problems can be fixed. In this blog, I'll share some insights on how to repair a damaged 4.3 Inch TFT LCD Display.
1. Initial Diagnosis
The first step in any repair process is to diagnose the problem accurately. There are several common issues that can affect a 4.3 Inch TFT LCD Display:

- No Display: If the screen is completely black, it could be due to a power issue, a damaged backlight, or a problem with the display driver. Check if the power supply is working properly. You can use a multimeter to measure the voltage at the power input of the display. If the power is fine, the backlight might be the culprit. A faulty backlight can often be identified by shining a bright flashlight on the screen at an angle. If you can see a faint image, it means the backlight is not working.
- Lines or Spots on the Screen: Horizontal or vertical lines, as well as colored spots, can indicate a problem with the LCD panel itself or the connection between the panel and the driver board. Loose connections are a common cause of these issues. You can try gently pressing on the edges of the display to see if the lines or spots change. If they do, it's likely a connection problem.
- Flickering Screen: A flickering screen can be caused by a variety of factors, including a loose power connection, a faulty backlight inverter, or a problem with the display driver. Check all the connections and make sure they are secure. If the problem persists, the backlight inverter might need to be replaced.
2. Tools and Materials
Before you start the repair process, you'll need to gather the necessary tools and materials. Here are some of the items you might need:
- Screwdriver Set: To open the display casing and access the internal components.
- Multimeter: To measure voltage and check for electrical continuity.
- Soldering Iron and Solder: If you need to repair or replace any electronic components.
- Anti - Static Wrist Strap: To prevent static electricity from damaging the sensitive electronic components.
- Replacement Parts: Depending on the problem, you might need to replace the backlight, the display driver board, or the LCD panel itself. As a 4.3 Inch TFT LCD Display supplier, I can provide you with high - quality replacement parts.
3. Repairing Loose Connections
As mentioned earlier, loose connections are a common cause of display problems. Here's how you can fix them:
- Open the Display Casing: Use the appropriate screwdriver to remove the screws on the back of the display. Be careful not to lose any of the screws. Once the screws are removed, gently pry open the casing using a plastic opening tool.
- Check the Connections: Look for any loose or disconnected cables. The most common connections to check are the power cable, the data cable between the display driver board and the LCD panel, and the backlight cable. Make sure all the cables are firmly plugged in. You can also try re - seating the connectors by gently unplugging and then plugging them back in.
- Secure the Connections: If the connections seem loose, you can use a small amount of electrical tape or cable ties to secure them in place. This will prevent them from coming loose again in the future.
4. Replacing the Backlight
If the backlight is not working, you'll need to replace it. Here's a step - by - step guide:
- Remove the Old Backlight: Once you've opened the display casing, locate the backlight assembly. It's usually located behind the LCD panel. Carefully disconnect the backlight cable from the backlight inverter. Then, remove the screws or clips that hold the backlight assembly in place. Gently lift out the old backlight.
- Install the New Backlight: Take the new backlight and place it in the same position as the old one. Make sure it is properly aligned. Re - attach the screws or clips to secure the backlight assembly. Connect the backlight cable to the backlight inverter.
- Test the New Backlight: Before closing the display casing, power on the display to test the new backlight. If it works, you can proceed to close the casing.
5. Replacing the Display Driver Board
If the problem is with the display driver board, you'll need to replace it. Here's how:
- Identify the Driver Board: The display driver board is usually located near the edge of the LCD panel. It has a series of electronic components and connectors on it.
- Remove the Old Driver Board: Disconnect all the cables connected to the driver board, including the power cable, the data cable, and the backlight cable. Remove the screws that hold the driver board in place. Gently lift out the old driver board.
- Install the New Driver Board: Place the new driver board in the same position as the old one. Make sure all the holes align. Re - attach the screws to secure the driver board. Connect all the cables to the new driver board.
- Test the New Driver Board: Power on the display to test the new driver board. If the display works properly, you can close the display casing.
6. Replacing the LCD Panel
Replacing the LCD panel is the most complex and challenging repair. It should only be attempted if you have some experience with electronics repair. Here's a general overview of the process:
- Remove the Old LCD Panel: First, disconnect all the cables connected to the LCD panel, including the data cable and the backlight cable. Remove the screws or clips that hold the LCD panel in place. Gently lift out the old LCD panel.
- Install the New LCD Panel: Place the new LCD panel in the same position as the old one. Make sure it is properly aligned. Re - attach the screws or clips to secure the LCD panel. Connect all the cables to the new LCD panel.
- Test the New LCD Panel: Power on the display to test the new LCD panel. If it works, you can close the display casing.
7. Other Considerations
- Warranty: If your 4.3 Inch TFT LCD Display is still under warranty, it's best to contact the manufacturer or the supplier for repair or replacement. Attempting to repair the display yourself might void the warranty.
- Safety: When working with electronic components, always follow safety precautions. Wear an anti - static wrist strap to prevent static electricity from damaging the components. Make sure the power is turned off before you start working on the display.
In addition to 4.3 Inch TFT LCD Displays, we also offer a wide range of other TFT LCD displays, such as the 0.96 Inch TFT LCD Display, the 2.2 Inch TFT LCD Display, and the 3.4 Inch TFT LCD Display.
If you have any questions about repairing your 4.3 Inch TFT LCD Display or if you're interested in purchasing replacement parts or new displays, please feel free to contact us for more information and to discuss your procurement needs. We're here to help you find the best solutions for your display requirements.
References
- "LCD Display Repair Guide" - Electronics Repair Handbook
- "TFT LCD Technology and Troubleshooting" - Journal of Display Technology


